
Have you experimented with the premium version of LinkedIn yet?
LinkedIn Sales Navigator is a very powerful tool to build relationships with your ideal clients – the best part is that you can use it without ever actually needing to pay for it. In this guide I’ll show you how!
If you have not heard much about Sales Navigator, it’s essentially LinkedIn on steroids. It has more advanced search functionality which is very useful for lead generation campaigns. The only problem is that Sales Navigator comes with a monthly fee.
What I am about to show you involves utilising the Sales Navigator free trial offer – which is something that everyone has at their disposal. And don’t worry if you have used your free trial already, if you wait long enough, you are likely to receive a second one. I have had the offer twice so it’s worth keeping an eye out in case the opportunity comes up again.
It’s important to note that before you use your Sales Navigator free trial, you should have a clear idea of who your ideal client is. This will enable you to get the most out of the platform. If you are unsure about who you are trying to attract, read this previous tip of mine where I explain the criteria that makes a client an ideal one.
Once you have established who you are trying to reach, follow along with this process I developed to connect with potential clients using LinkedIn Sales Navigator completely free of charge.
To give you an overview of my process, it involves using Sales Navigator’s search function to identify an ideal client. When you find a person you would like to connect with, next you go back to the free version of LinkedIn to send a connection request. There is a specific reason for this which I will get to.
Now you could just locate and message people in the messaging function within Sales Navigator itself (which would definitely be easier). The only problem is that when your free trial ends, you lose access to that messaging functionality built-in to Sales Navigator – meaning the conversations you started essentially disappear.
So if you have no intention of continuing with the paid version of Sales Navigator, it's important to do everything in a future proof way so you don’t waste the hard work you put into starting relationships.
Here are the steps to follow to make the most of your free trial:
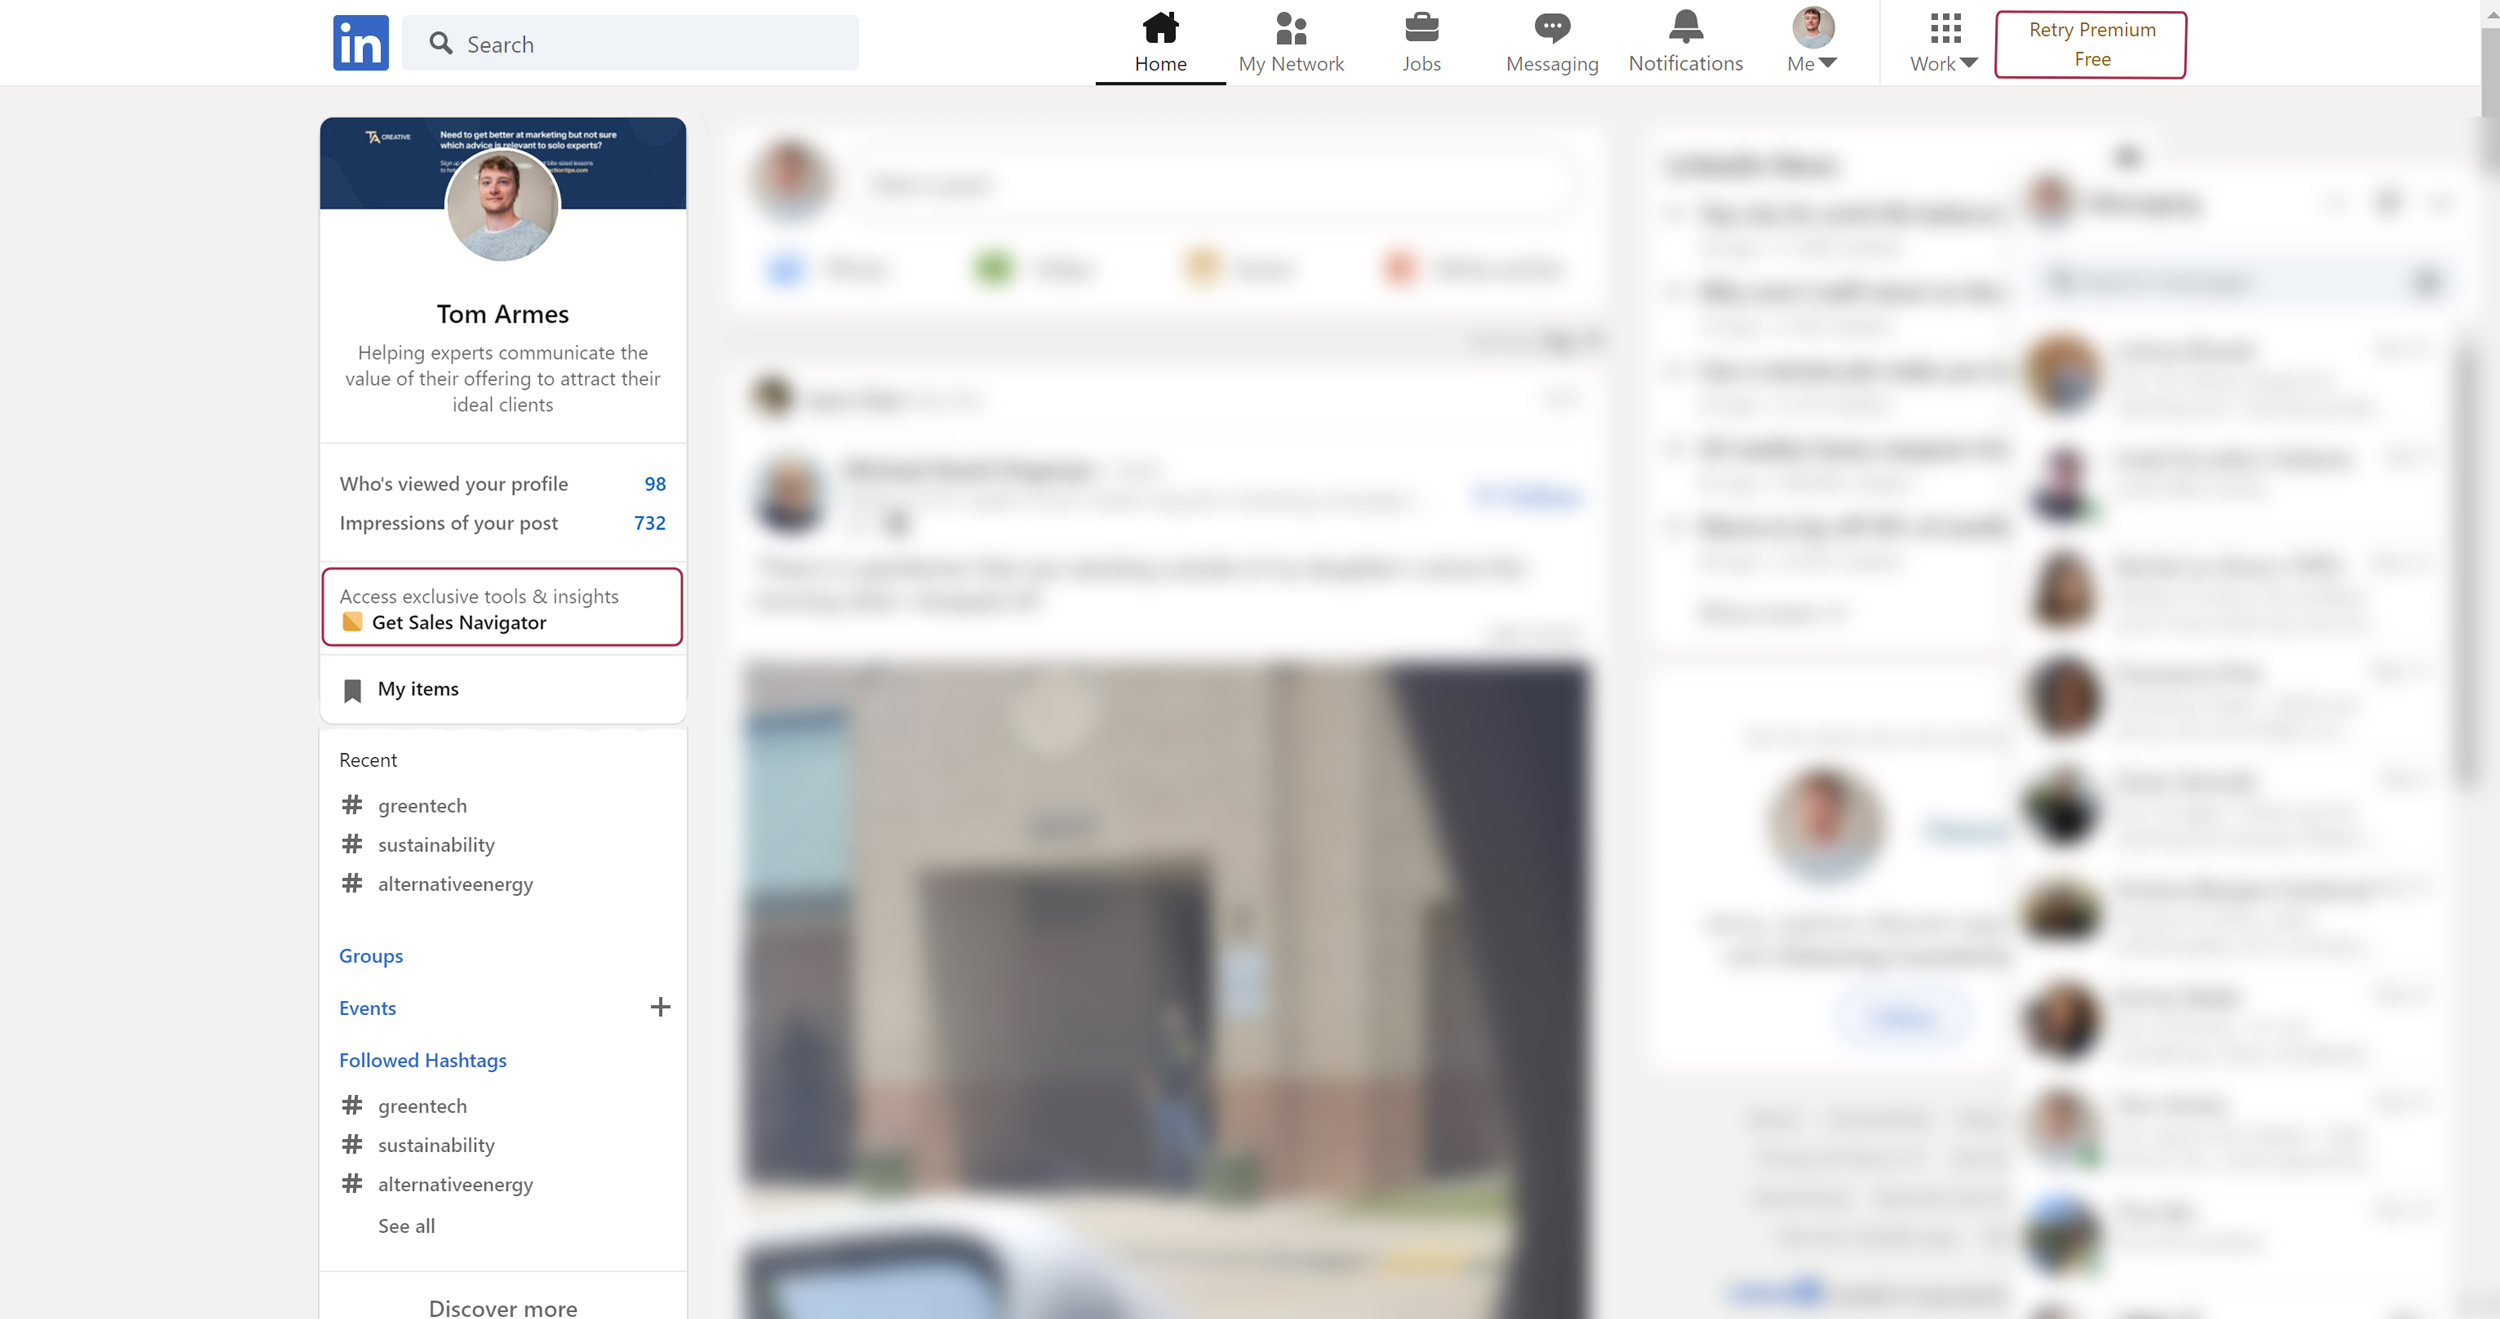
STEP 1: To begin, you need to actually start your LinkedIn premium free trial by clicking on either of the links highlighted in red boxes in the screenshot below. You may also have a notification inviting you to get the free trial so you could potentially start it that way too.
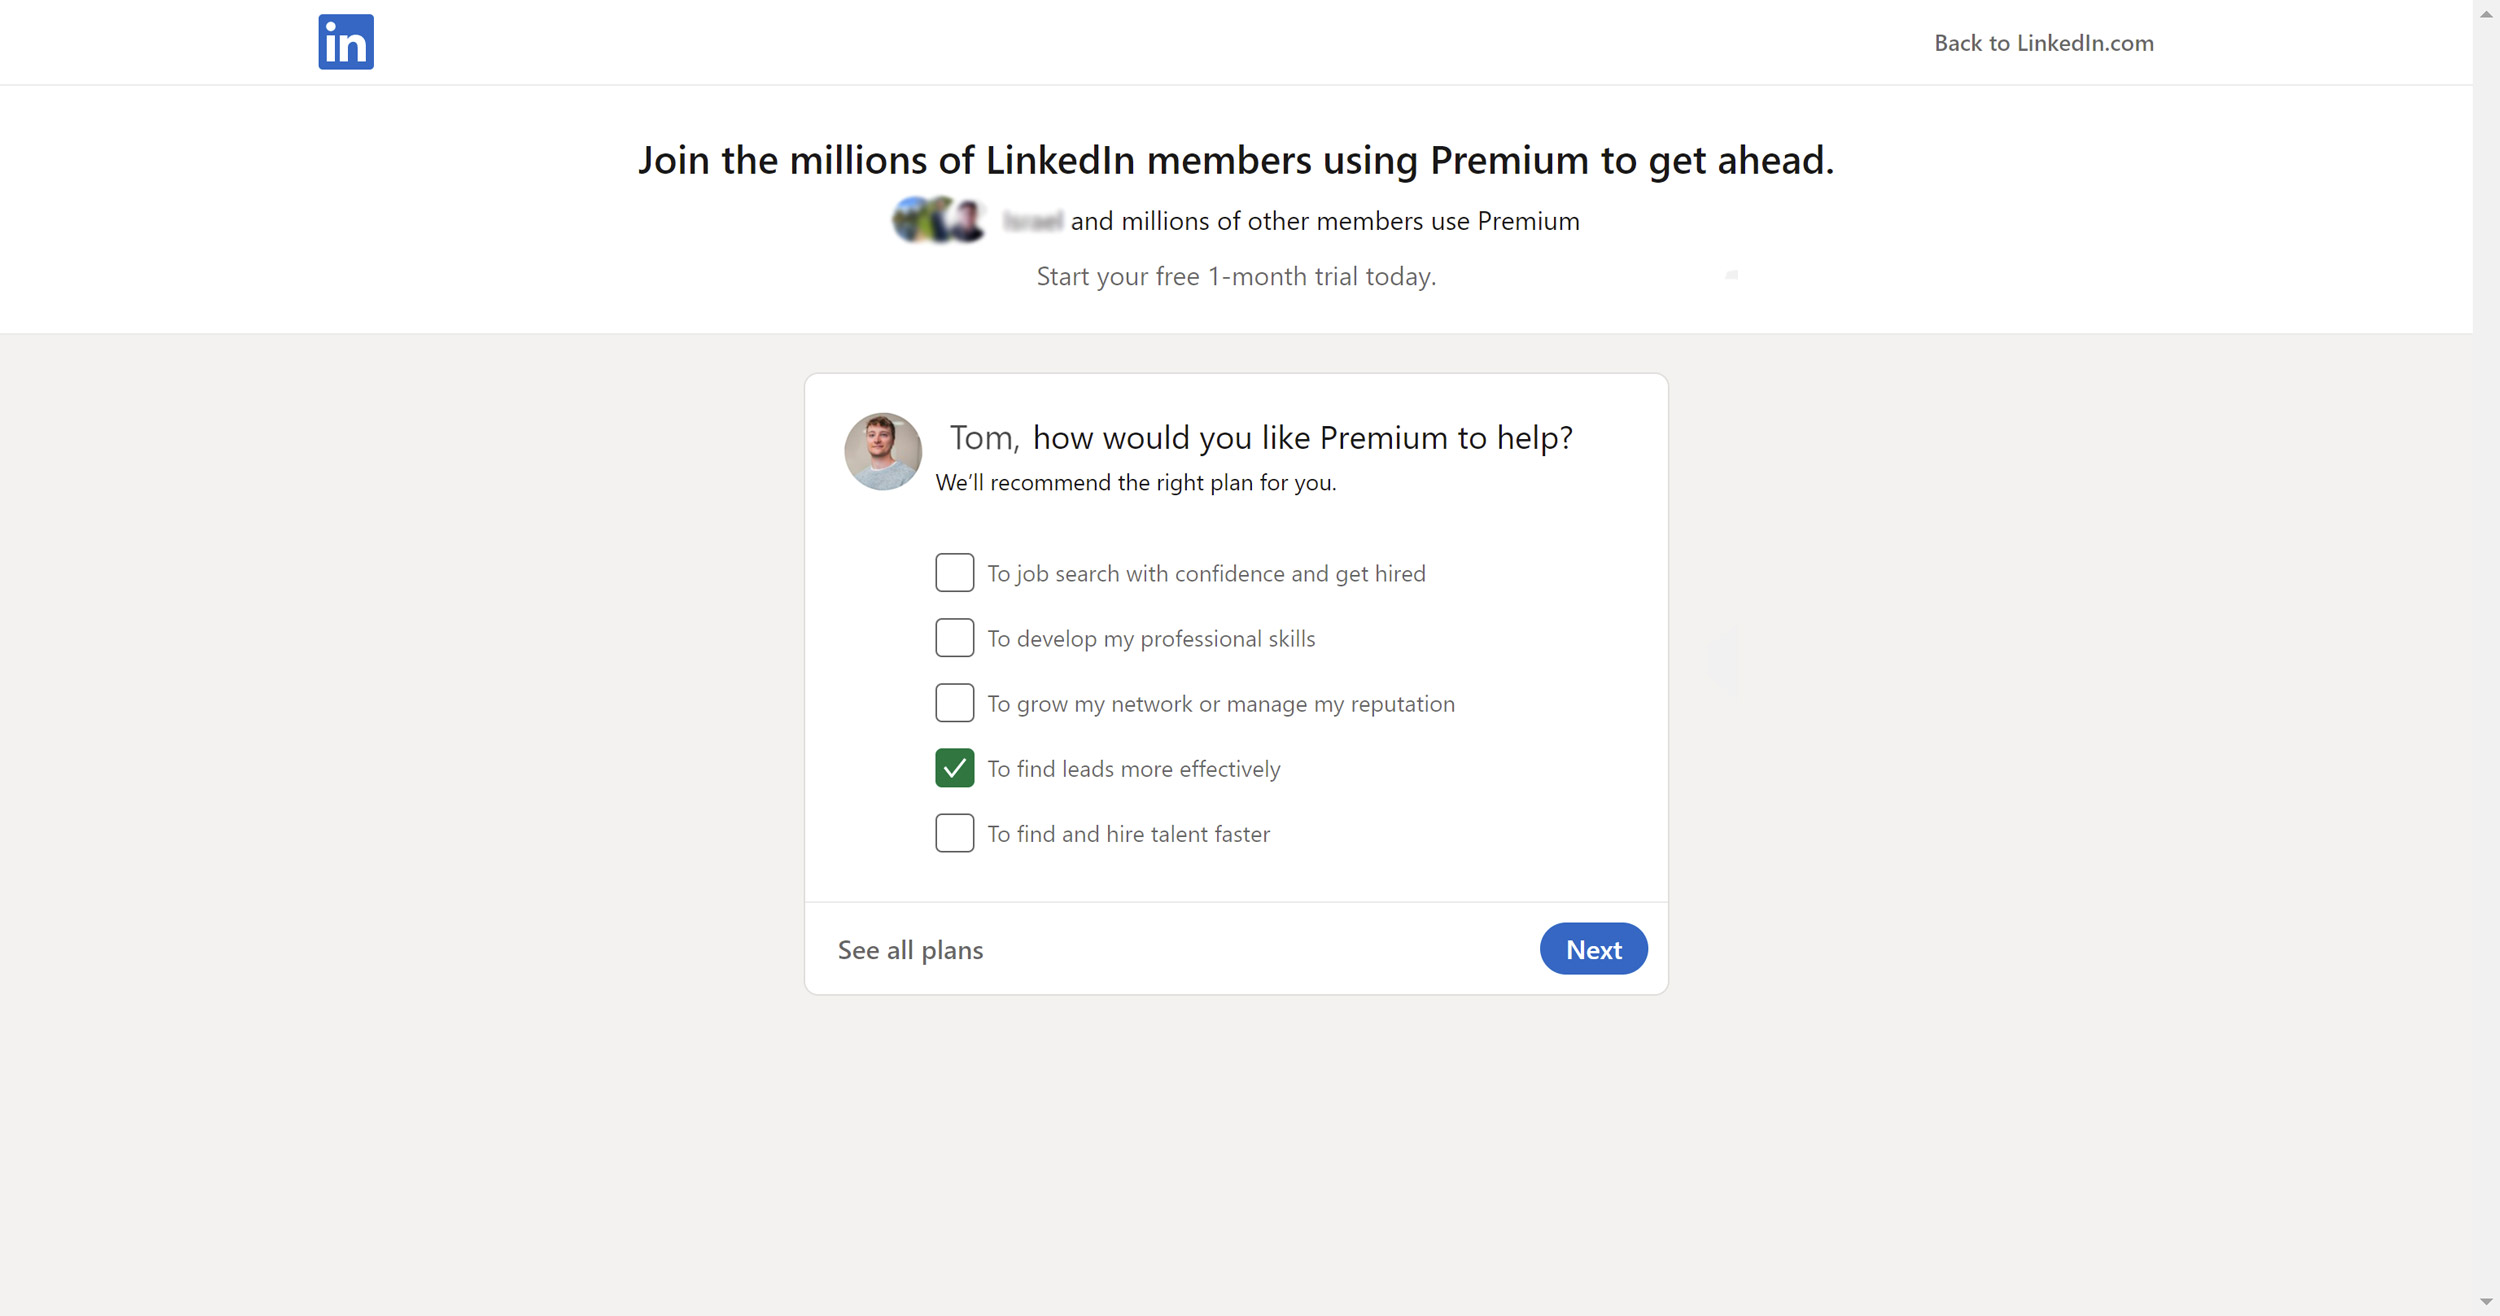
STEP 2: At the next page, check the box that says “To find leads more effectively” and click “Next”.
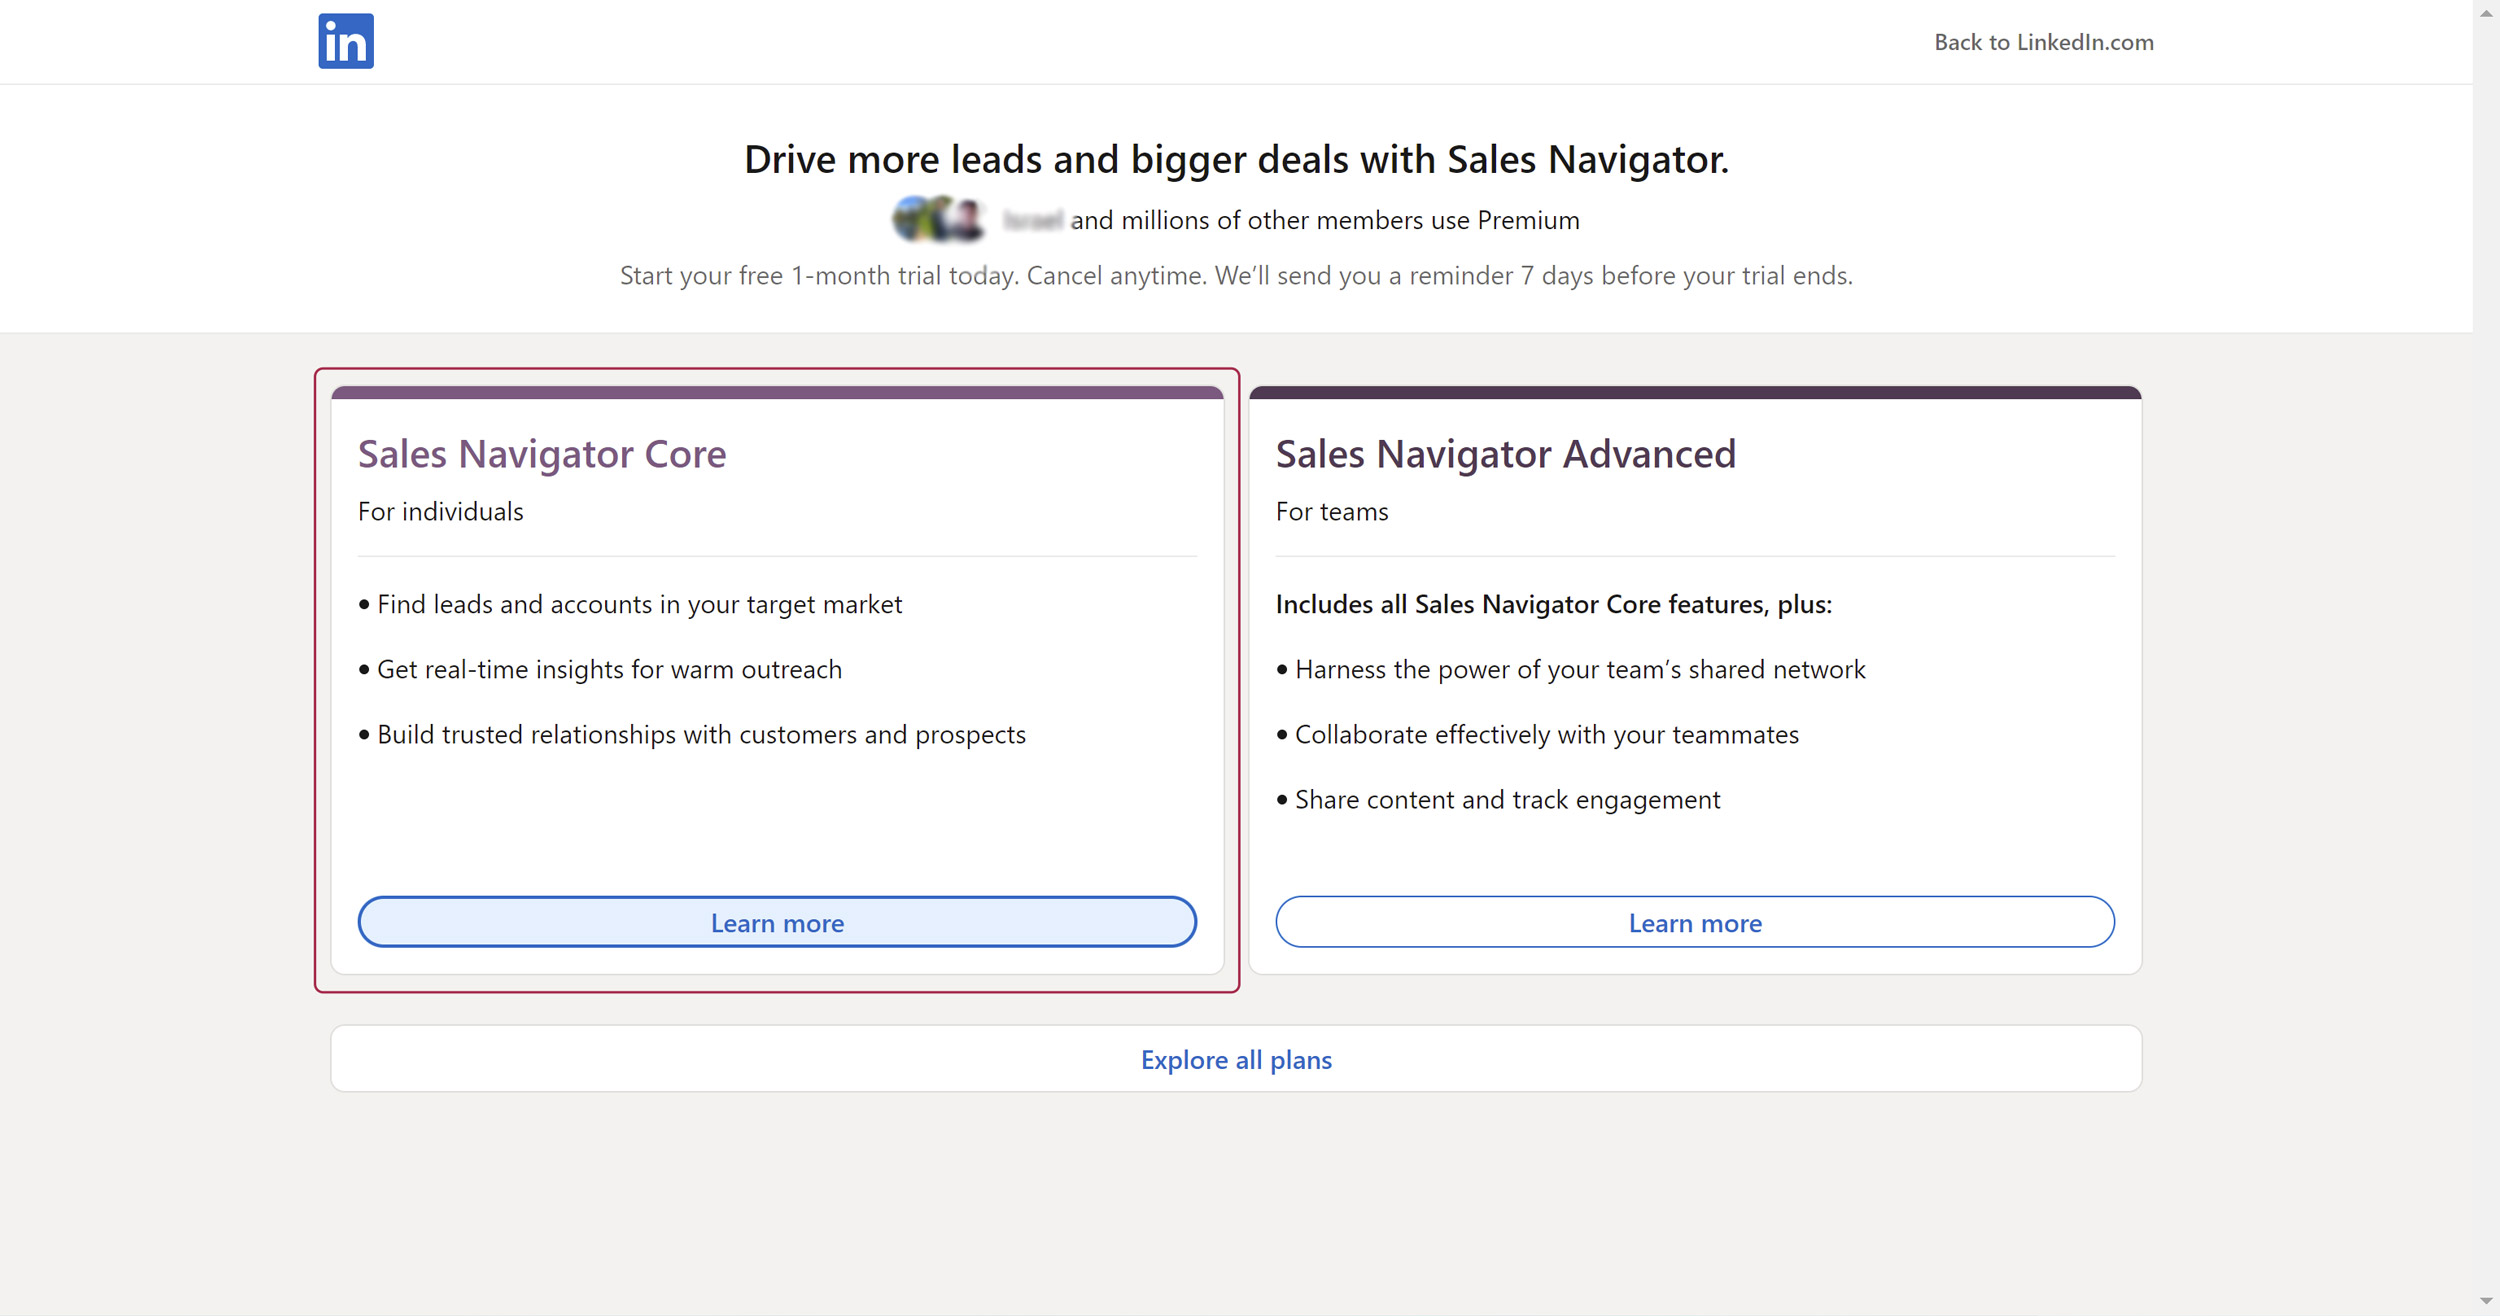
STEP 3: Then click “Learn more” at the bottom of the “Sales Navigator Core” option.
STEP 4: Follow the rest of the free trial sign-up instructions and enter your card details. Be sure to set a reminder on your phone / calendar to notify you the day before the trial expires so you can cancel it ahead of being charged.
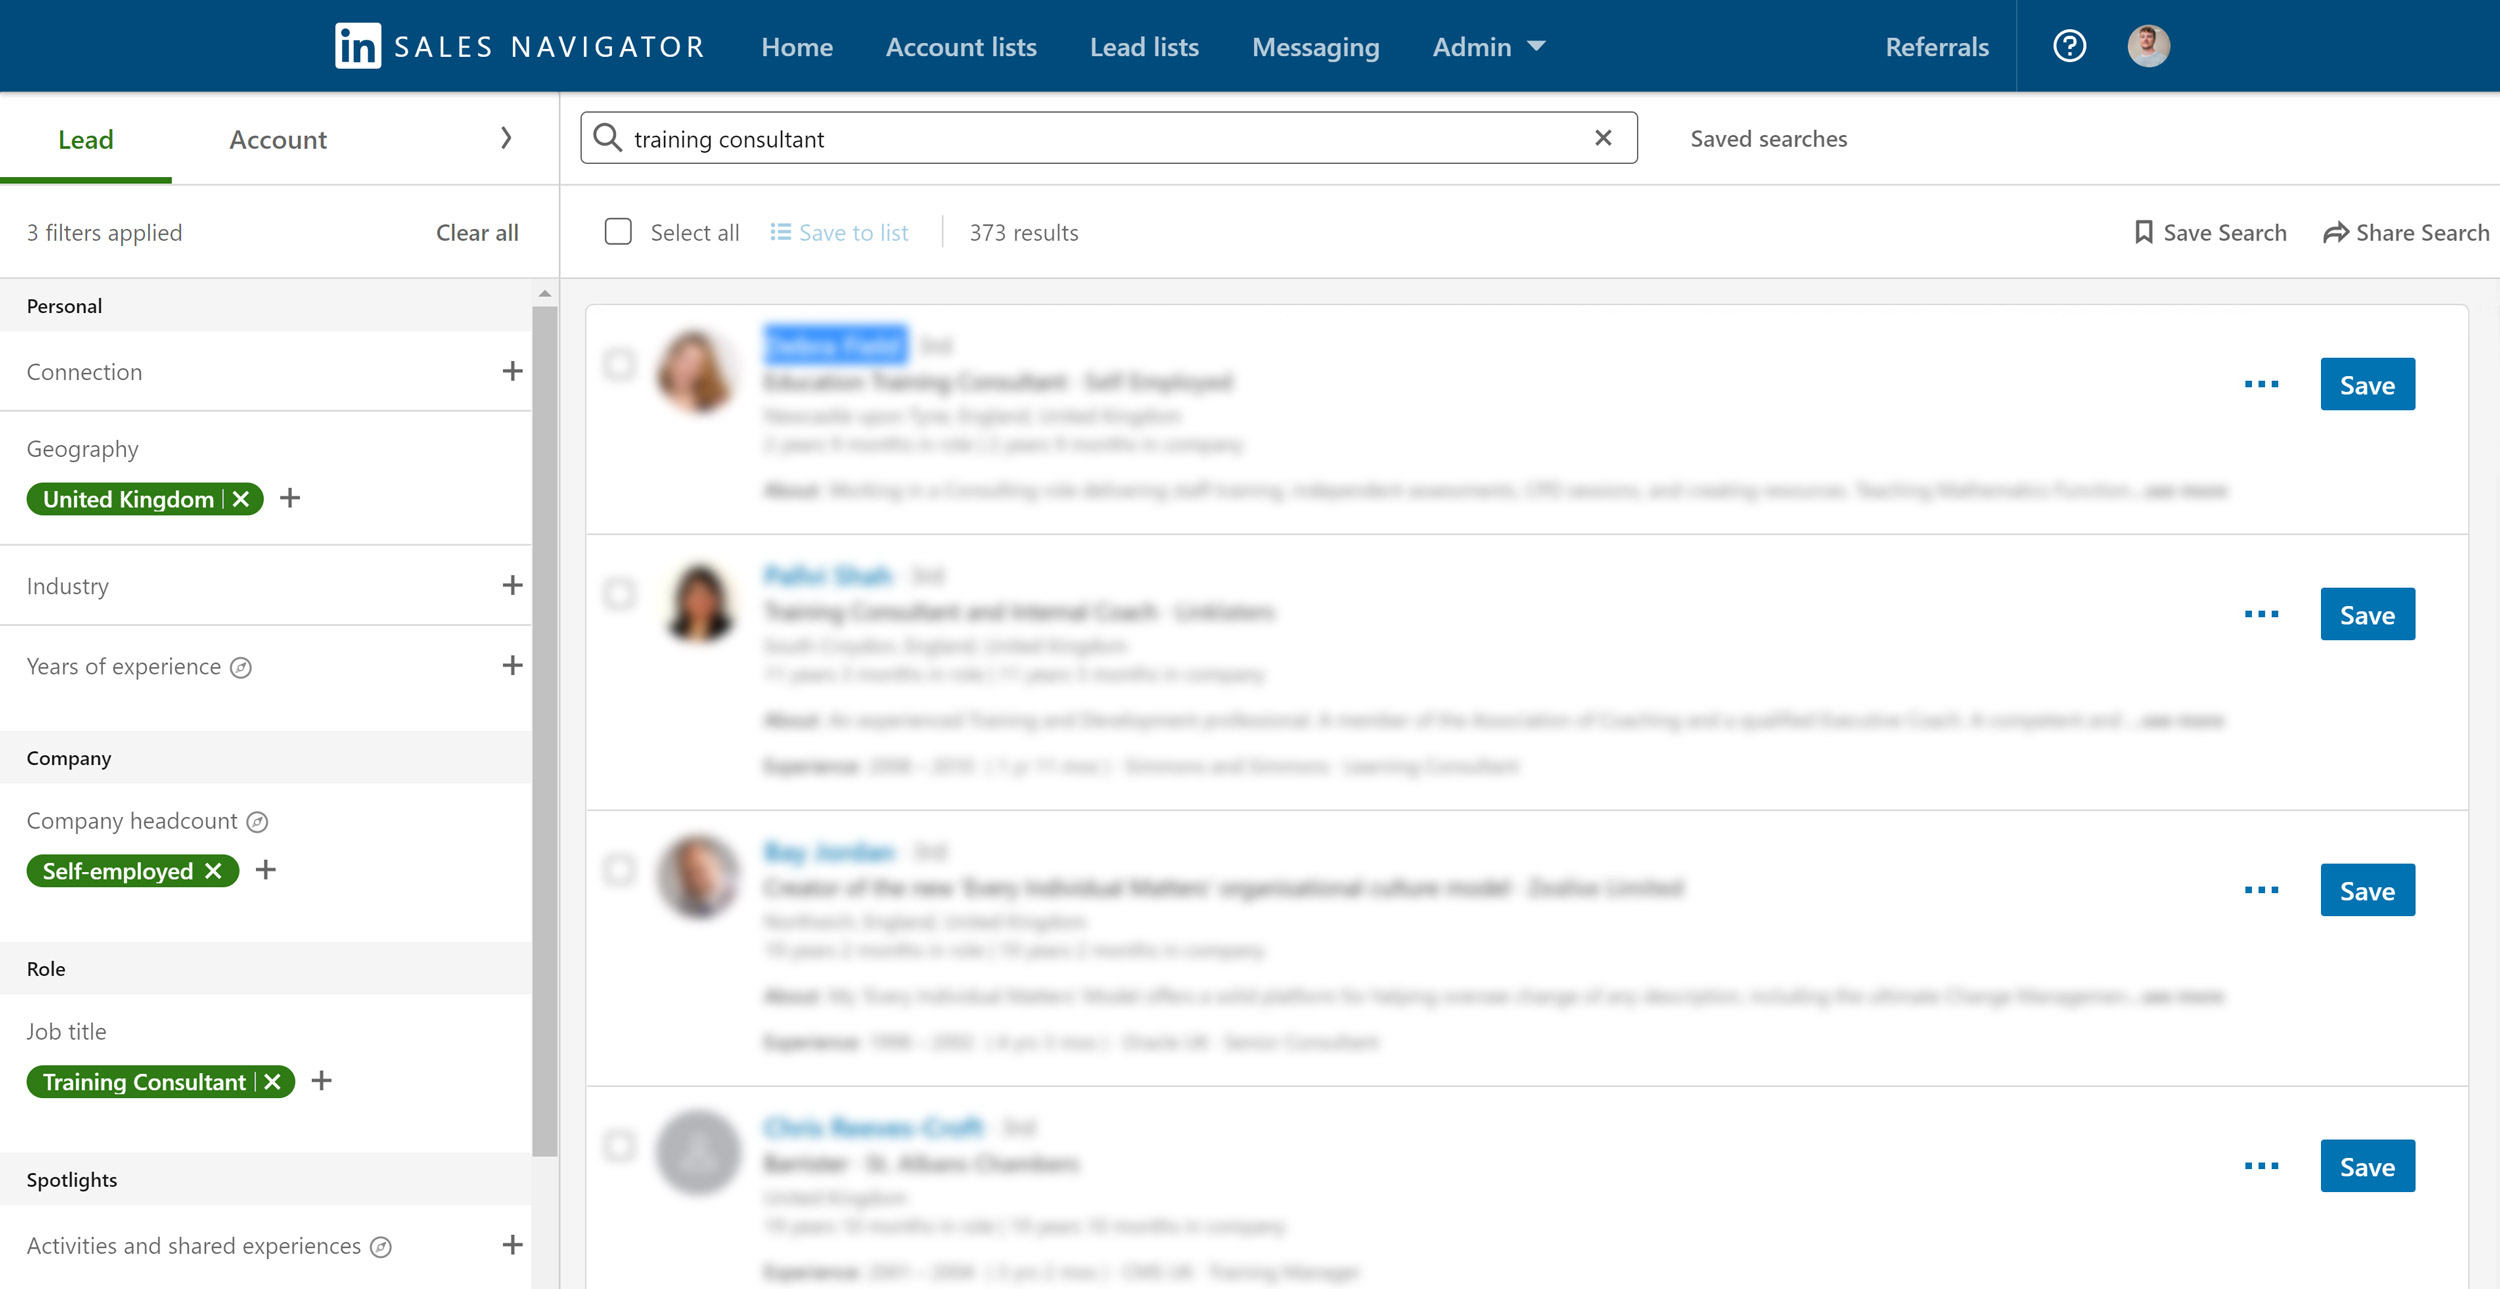
STEP 5: Once you have set up your LinkedIn Sales Navigator account, it’s time to do a search. This is where we must consider the characteristics of the ideal clients we are looking to connect with. I like to search by “job title”, “company headcount”, and “geography” as shown in the screenshot below.
When you find someone you would like to connect with, select their name and copy it. Also be sure to make a mental note of what their profile picture looks like.
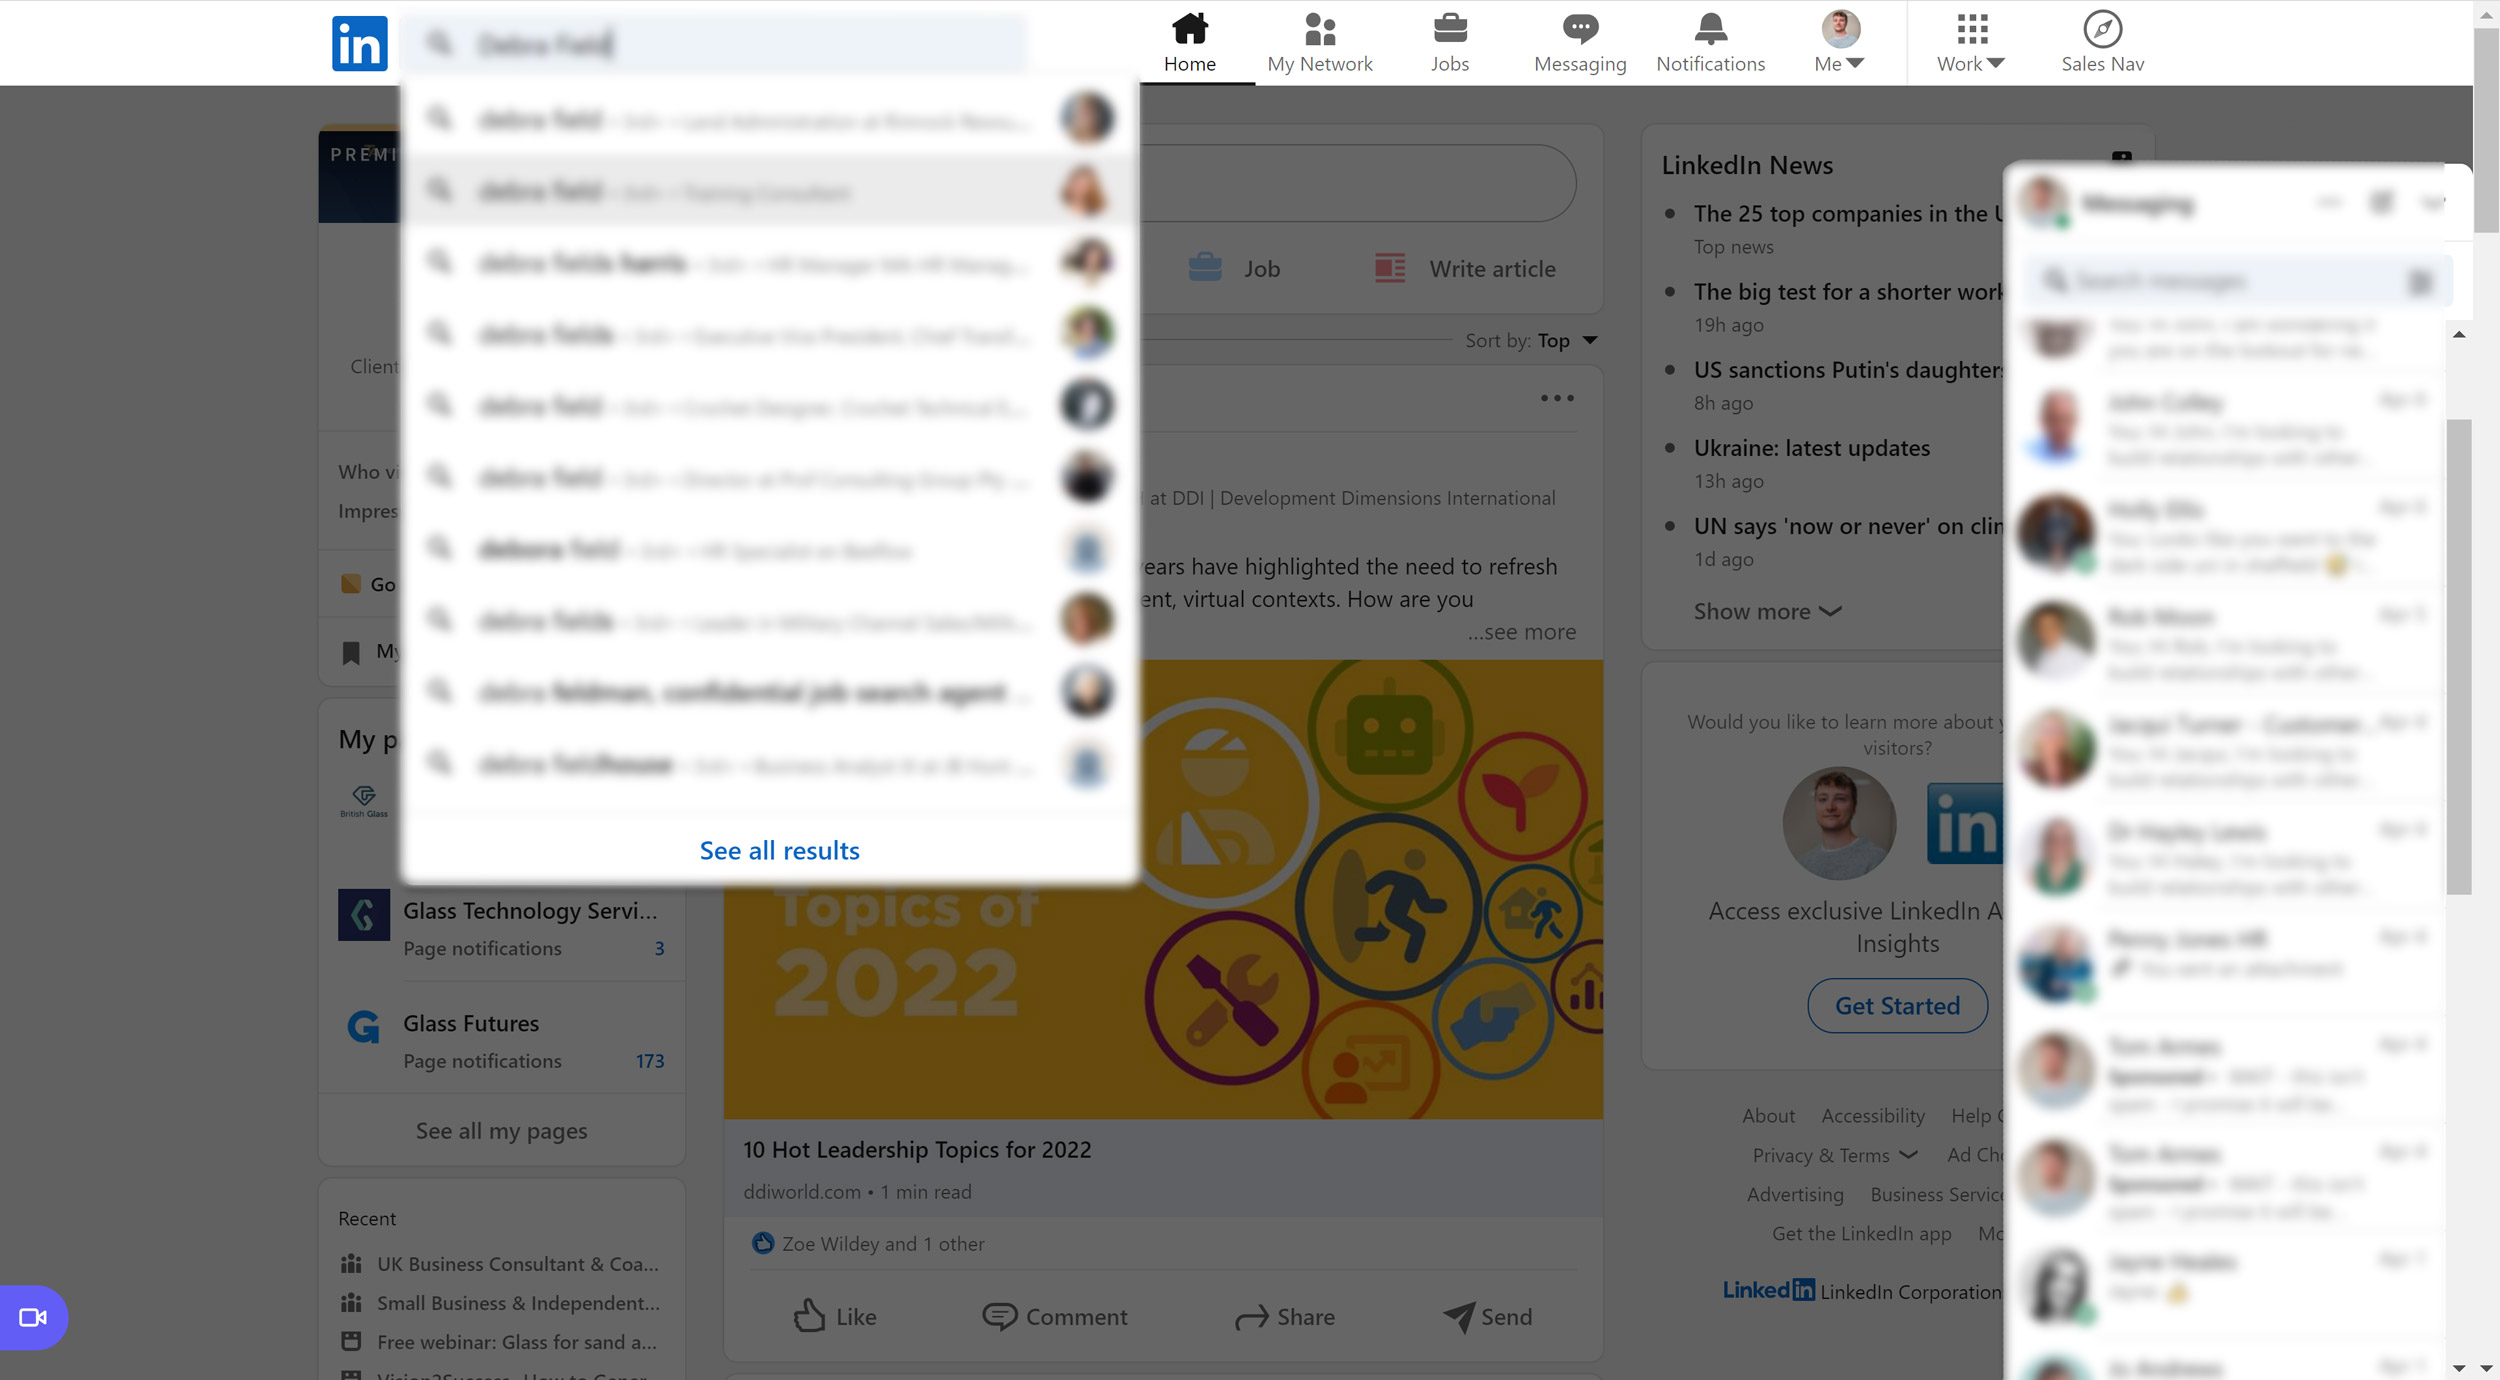
STEP 6: Now go back to the normal version of LinkedIn and search for that person by pasting their name into the main search bar. You could also write part of their profile headline (the sentence that follows their name) if you want to be even more specific. Then click on the person you are looking for in the search results.
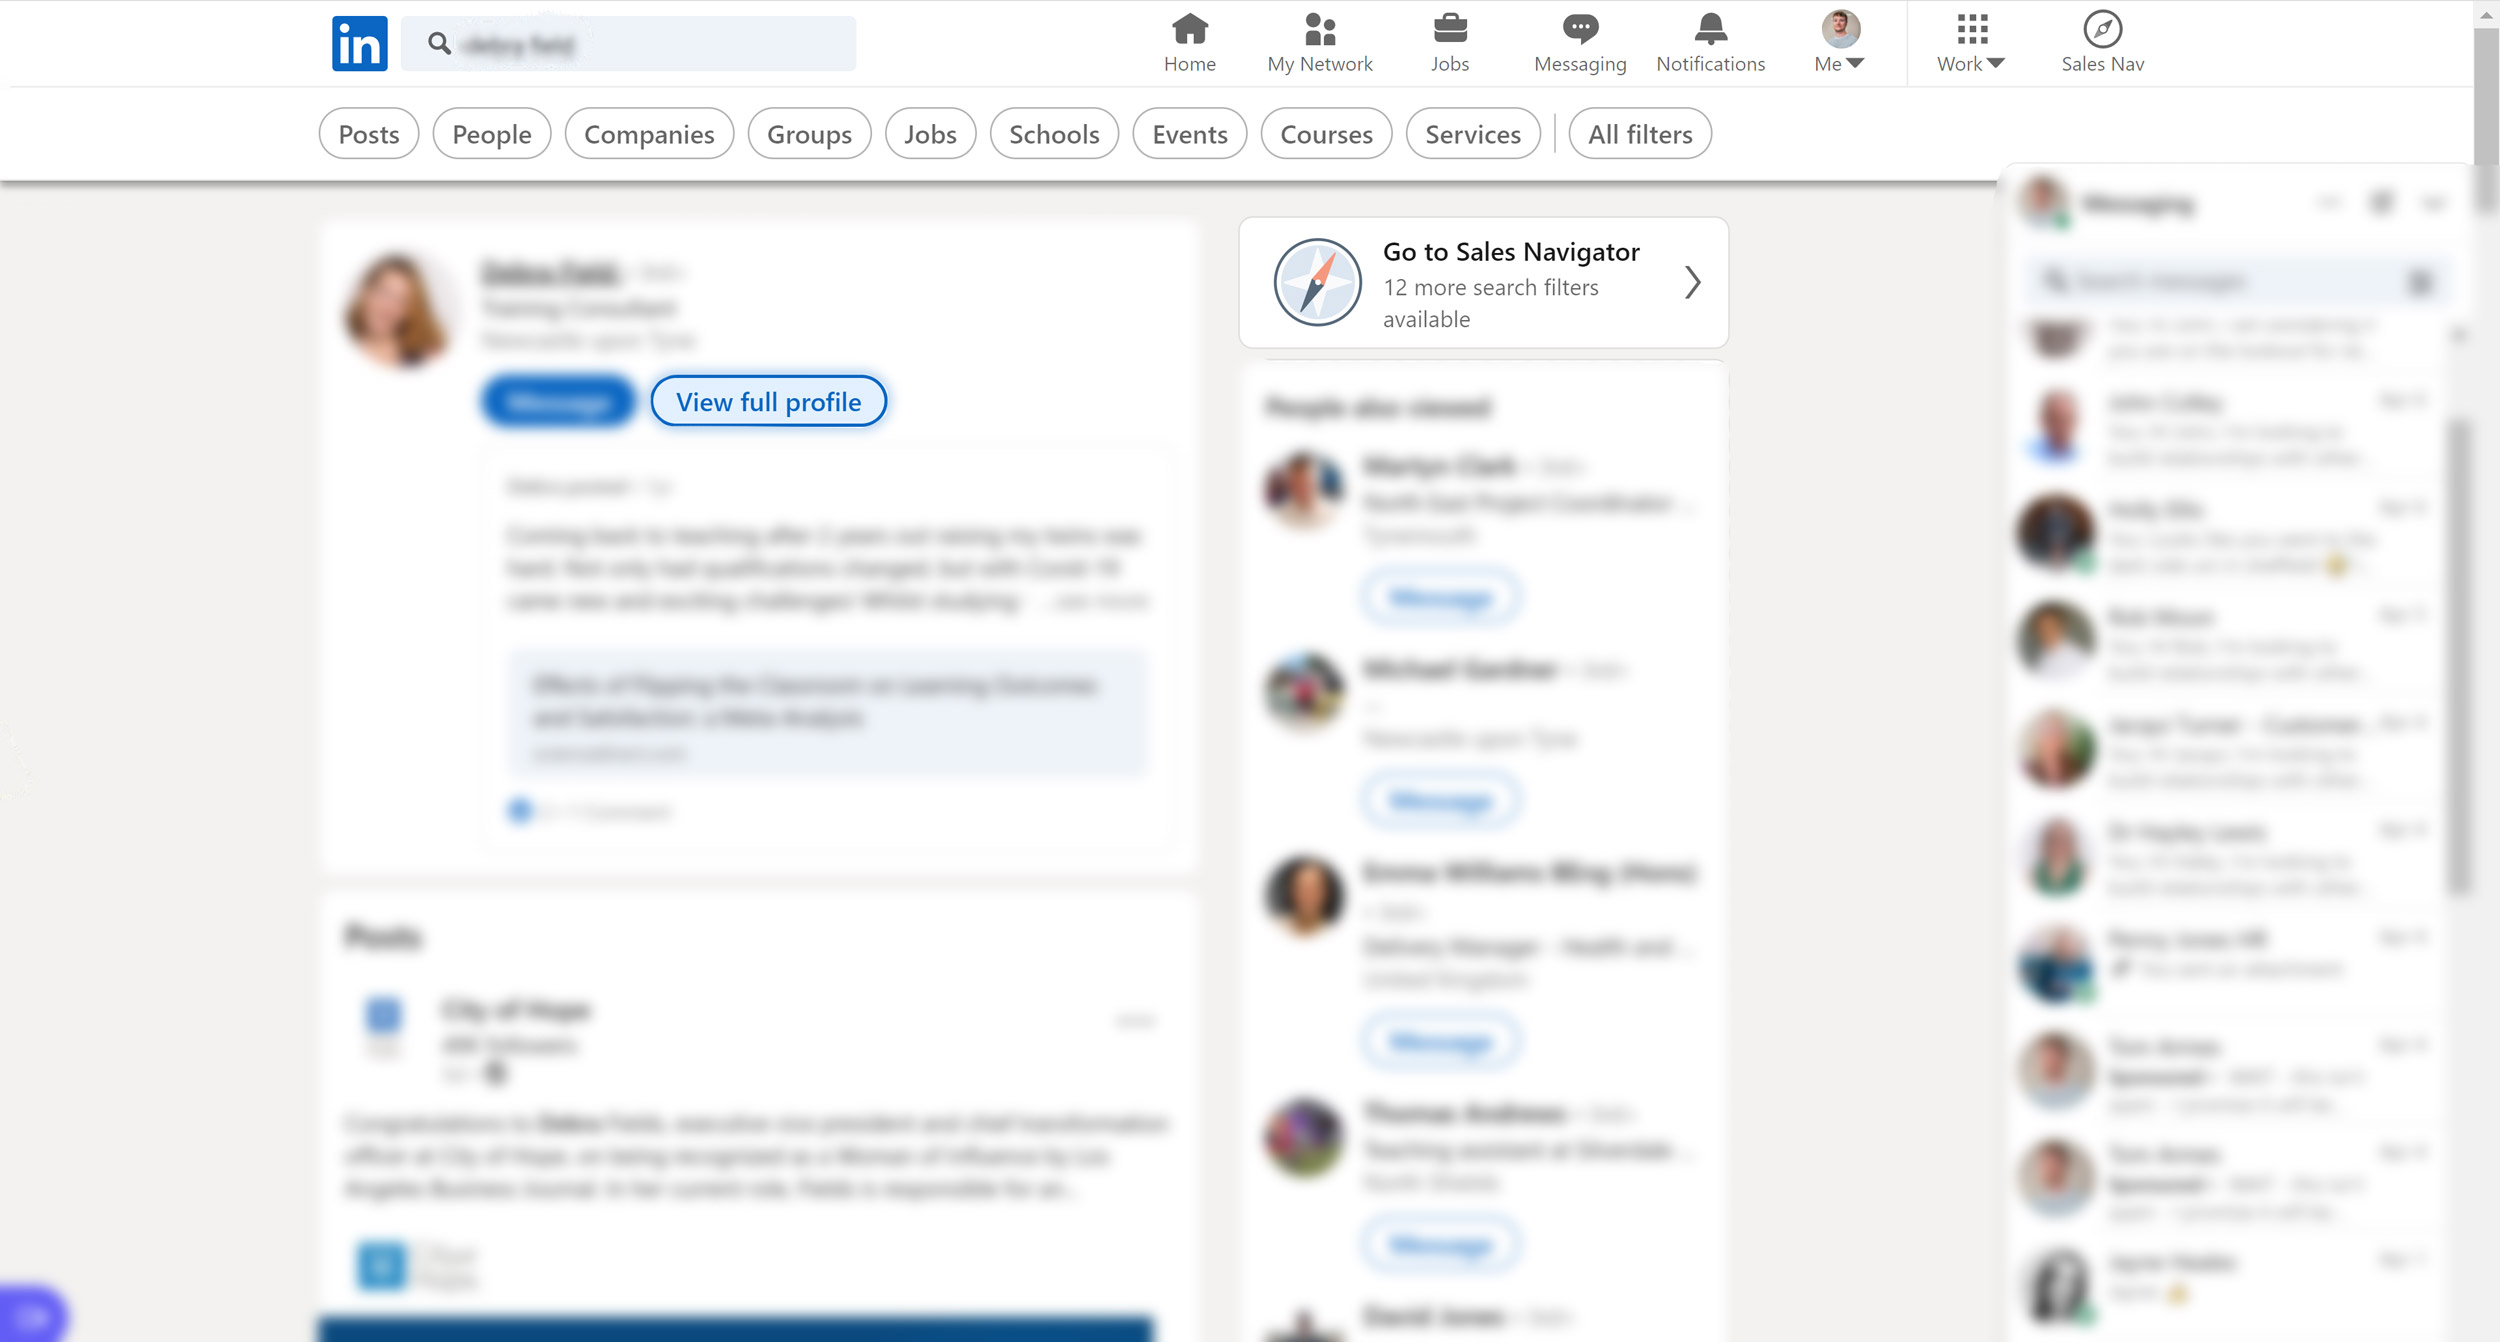
STEP 7: At the next page, click “View full profile” on the person you want to reach out to.
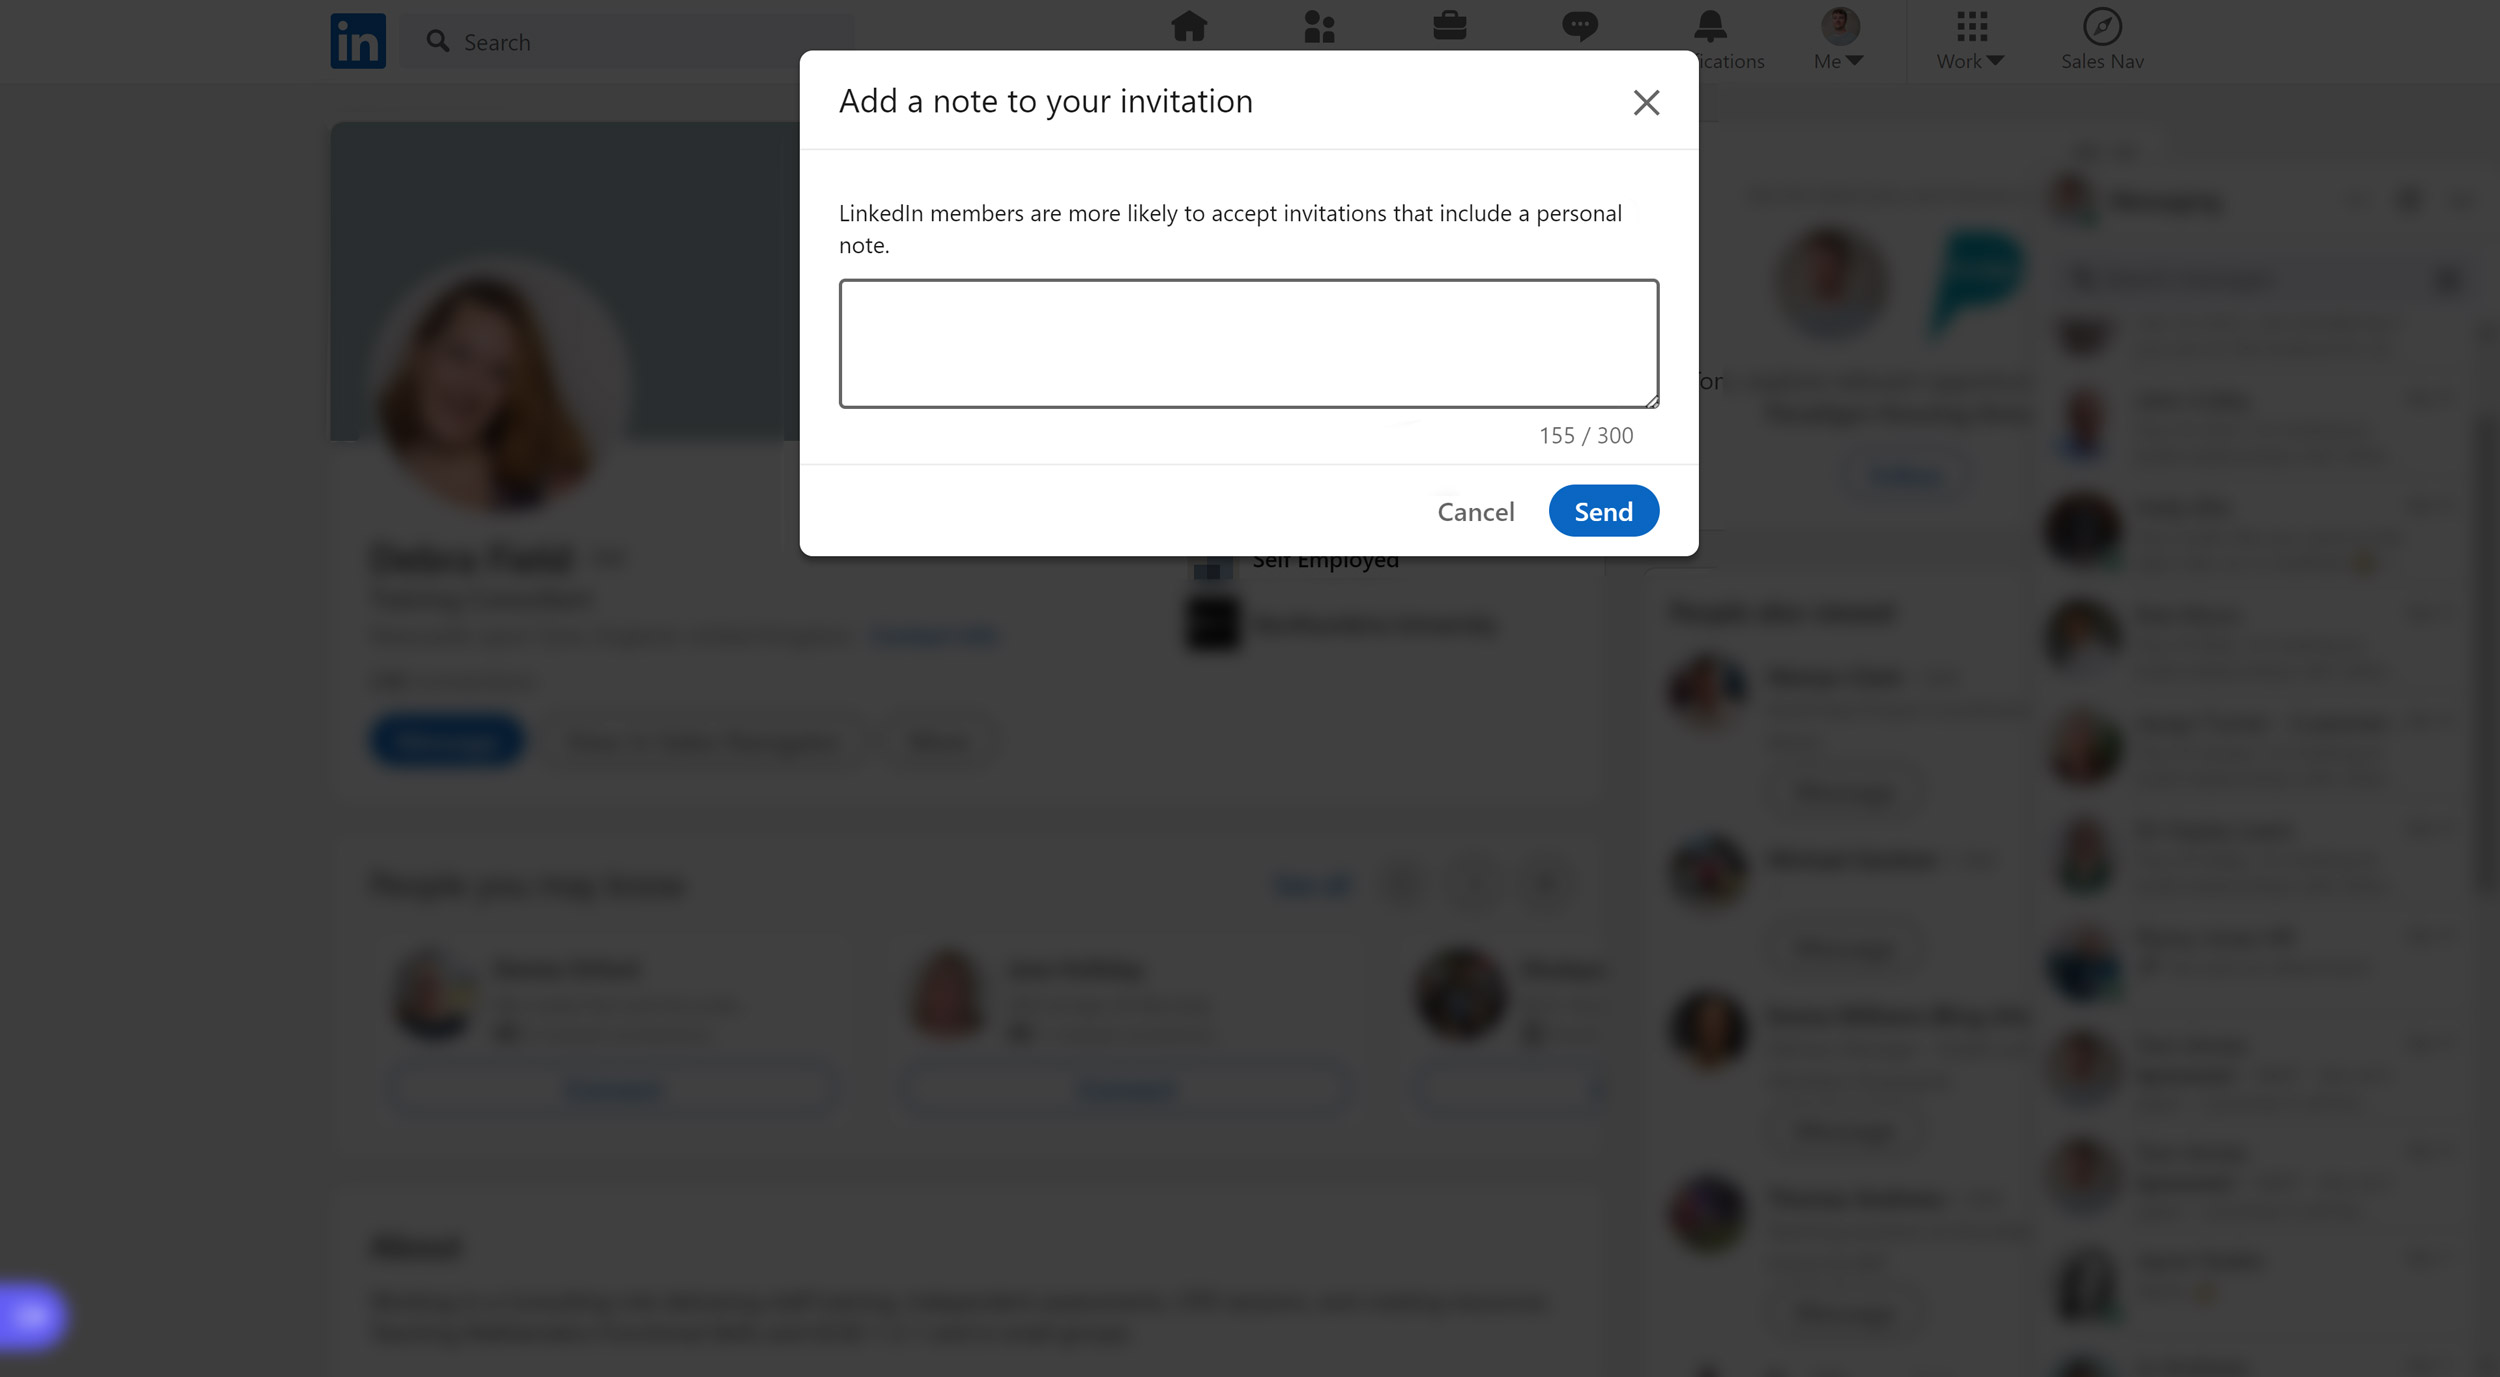
STEP 8: Once you have looked at their profile and determined that this is someone you want to connect with, click the “Connect” button. You will then see an option to “add a note” to your connection request. This is just a short message that gets attached to your request. It’s always good to add a note because it increases your chances of people accepting your invitation.
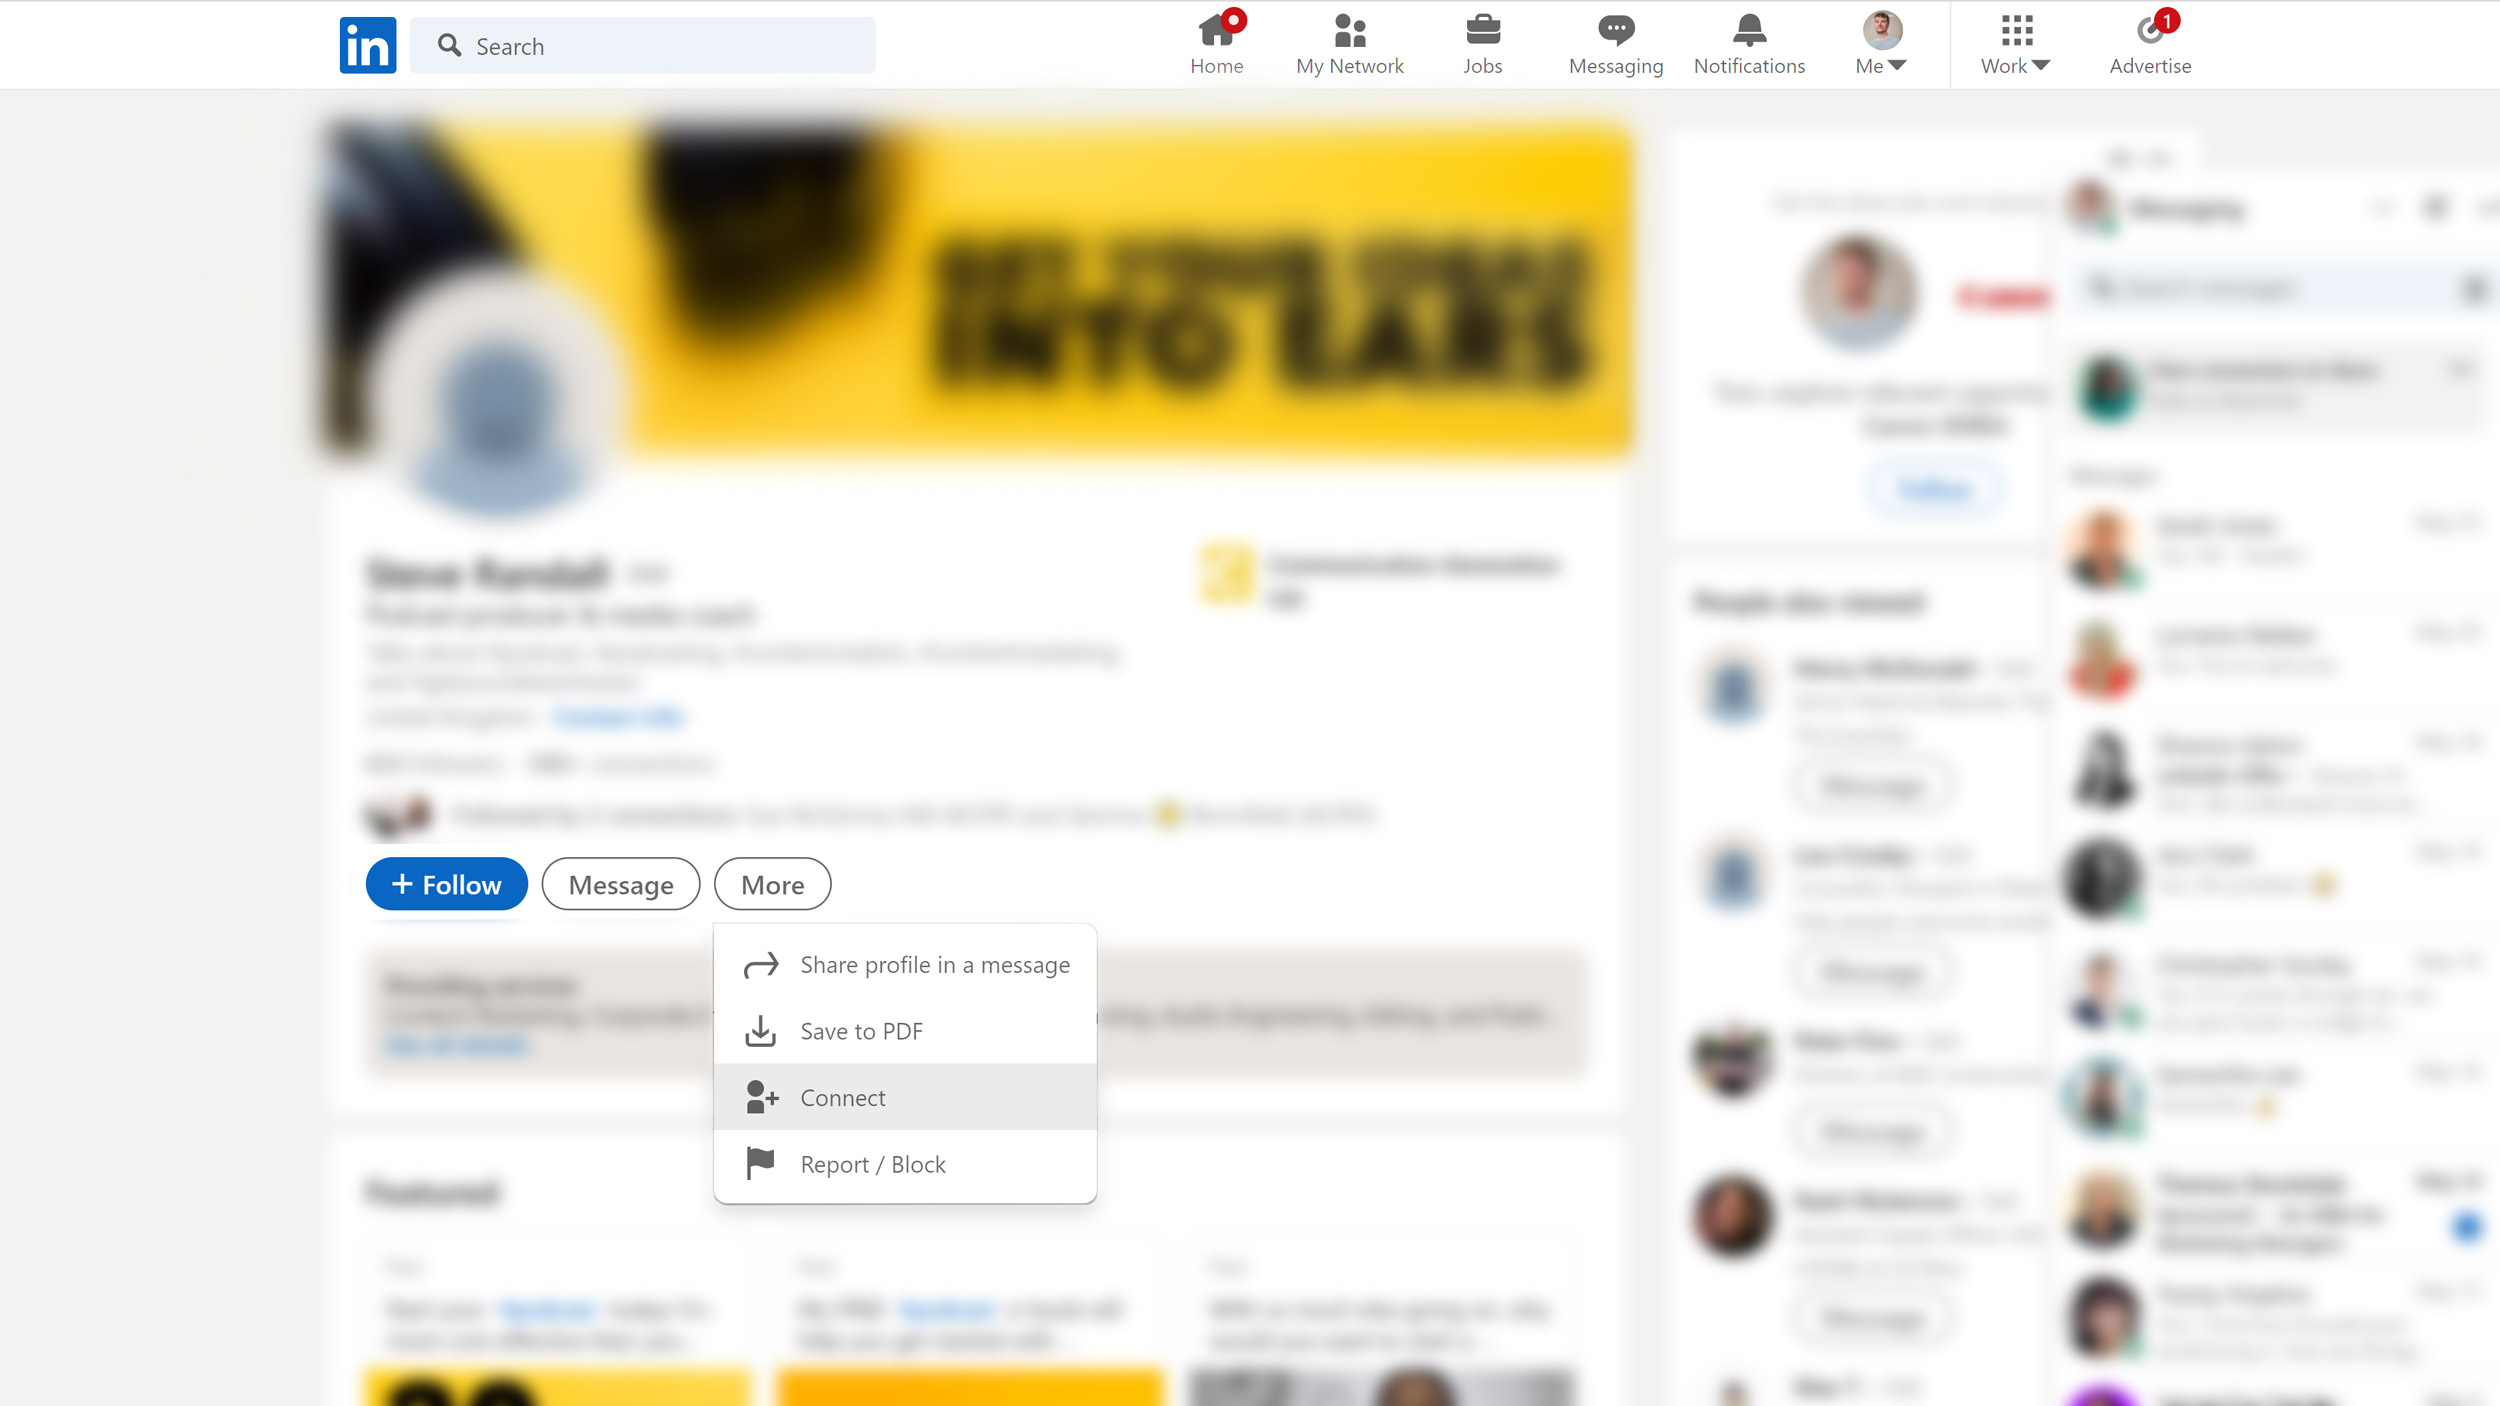
STEP 9: Now it’s important to note that the "Connect" button may not be visible on every person's profile. This is because there is a setting called “creator mode” which people can switch on that makes it slightly harder for people to send them connection requests.
When creator mode is activated, it encourages people to follow them instead of connecting. But there is a work around – it just requires an extra step. When you encounter a profile that is encouraging you to “Follow” intead of "Connect" with the person, click “More” and then click “Connect” (as shown below). After you have connected with them, you will be able to add a note like I explained in the previous step.
STEP 10: Once the person confirms your connection request, you can start a conversation with them using the default LinkedIn messaging function. But remember, avoid talking about your services straight away. Consider asking them a question about their area of work or mention something about their profile that you have in common.
There we have it! Now repeat this process as many times as you can. It can be a bit tedious but it's important to connect with as many people as possible before your free month runs out. When I originally went through the process, I sent out 10 connection requests per day.
You could also add an additional step to this process where you log the details of the people that have accepted your connection requests in a spreadsheet or CRM. This isn’t essential but it would help you plan future lead generation campaigns.
Finally, if you ever need to see all the new connections you have made to be able to reach out to them, you can do this by viewing your own profile and looking through your list of connections. You can even do filtered searches to pinpoint people with specific characteristics.
Conclusion and action point
This process is all about building your network of potential clients, but once you have connected with them, you will need to develop and nurture the relationships you have created to actually turn them into clients. Be sure to provide them with value before asking for a meeting or phone call – that way you won't appear too transactional.
Your action point for today is to start your LinkedIn Sales Navigator trial and begin this process of expanding your network and growing your audience.